How to Integrate Google Admob in Android Application
Admob is a great way for earning money from the app. Admob is a multi-platform mobile network which allows you to integrate ads in your app and monetize the app. There are two types of Ad unit one is Banner and the second one is Interstitial.
Banner Ad occupies only some portion of device screen but Interstitial Ad occupies full screen of the device.
In this article, we build a simple app for showing Banner AdMob in your android app.
In this article, we build a simple app for showing Banner AdMob in your Android app, a useful skill in Mobile App Development Services for developers looking to generate revenue through ads.
Steps to Integrate AdMob in an Android Application
1) Create Ad Units
1.1: Go to https://www.google.com/admob and loginto your AdMob account. If you are new then signup.
1.2: Click on Monetize tab and create the app and also choose the platform ( like Android or ios).
1.3: Select Ad type i.e Banner or Interstitial and give the ad unit name.
1.4: After creation of ad unit you can see ad unit id on the dashboard.
2) Create Project
2.1: Create new Android project (eg. AdMob)

2.2: Select Target SDK Version
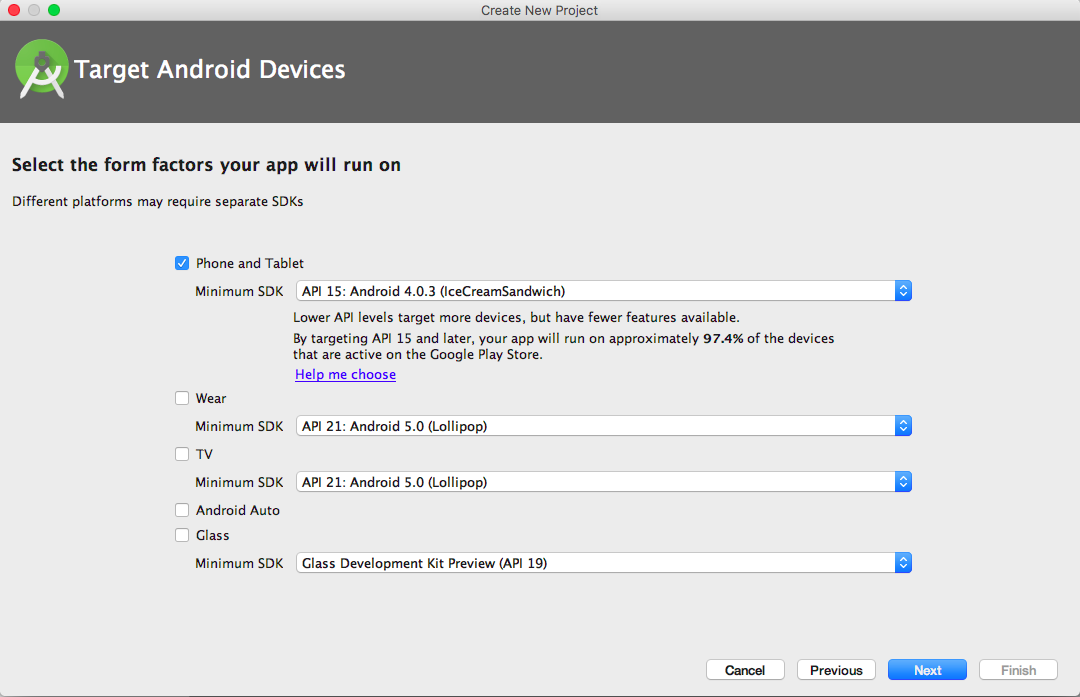
2.3: Now select Empty Activity
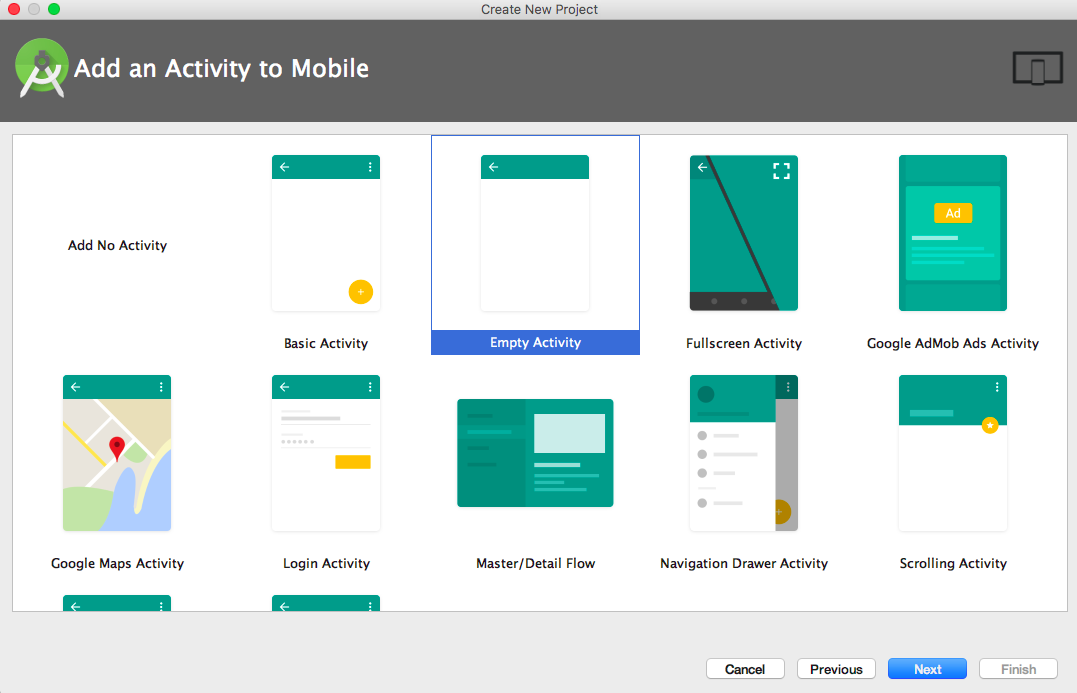
2.4: now click on Finish button and project is setup
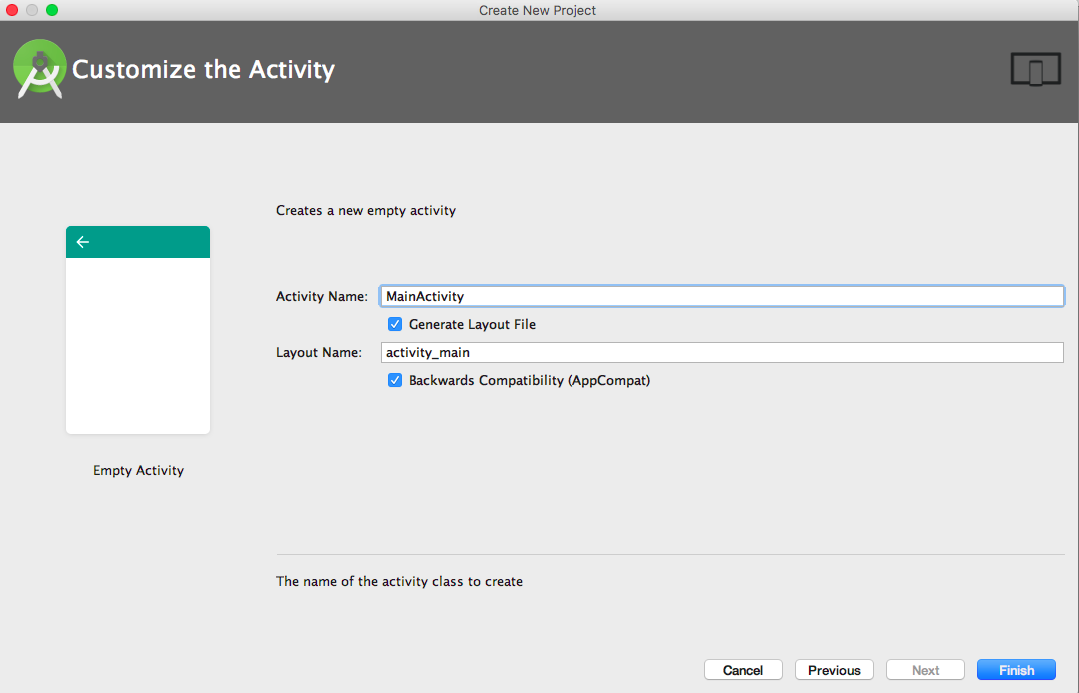
2.5: Project Structure
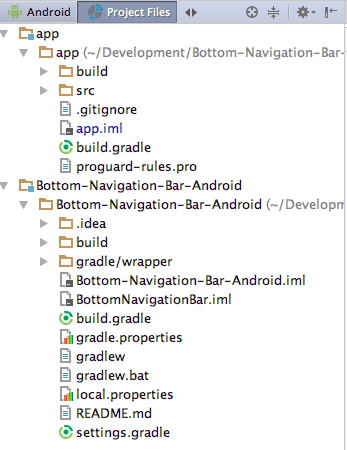
2.6: Now Open build.Gradle file and add the dependency for Admob
compile ‘com.google.android.gms:play-services-ads:8.4.0’
File: Build.gradle
dependencies { compile fileTree(dir: 'libs', include: ['*.jar']) androidTestCompile('com.android.support.test.espresso:espresso-core:2.2.2', { exclude group: 'com.android.support', module: 'support-annotations' }) compile 'com.android.support:appcompat-v7:25.3.1' testCompile 'junit:junit:4.12' compile 'com.google.android.gms:play-services-ads:8.4.0'}2.7: Now Add ad unit ID’s in your strings.xml file
File: res/values/strings.xml
<string name="banner_home_footer">ca-app-pub-0664570763252260/3326522424</string><string name="interstitial_full_screen">ca-app-pub-0664570763252260/1769900428</string>2.8: Open AndroidManifest.xml and add the permissions for internet and network state.
File: Manifest.xml
<uses-permission android:name="android.permission.INTERNET" /><uses-permission android:name="android.permission.ACCESS_NETWORK_STATE" />3) Now UI part
3.1: Addad view in main activity XML.
File: res/layout/activity_main.xml
<com.google.android.gms.ads.AdView android:id="@+id/adView" android:layout_width="match_parent" android:layout_height="wrap_content" android:layout_centerHorizontal="true" android:layout_alignParentBottom="true" ads:adSize="BANNER" ads:adUnitId="@string/banner_home_footer"></com.google.android.gms.ads.AdView>4) Now Java Part
4.1:Create an instance of AdRequest and load the ad into AdView.
4.2: Add the AdView life cycle methods in onResume(), onPause() and in onDestroy() methods.
File: src/MainActivity.java< /ins>
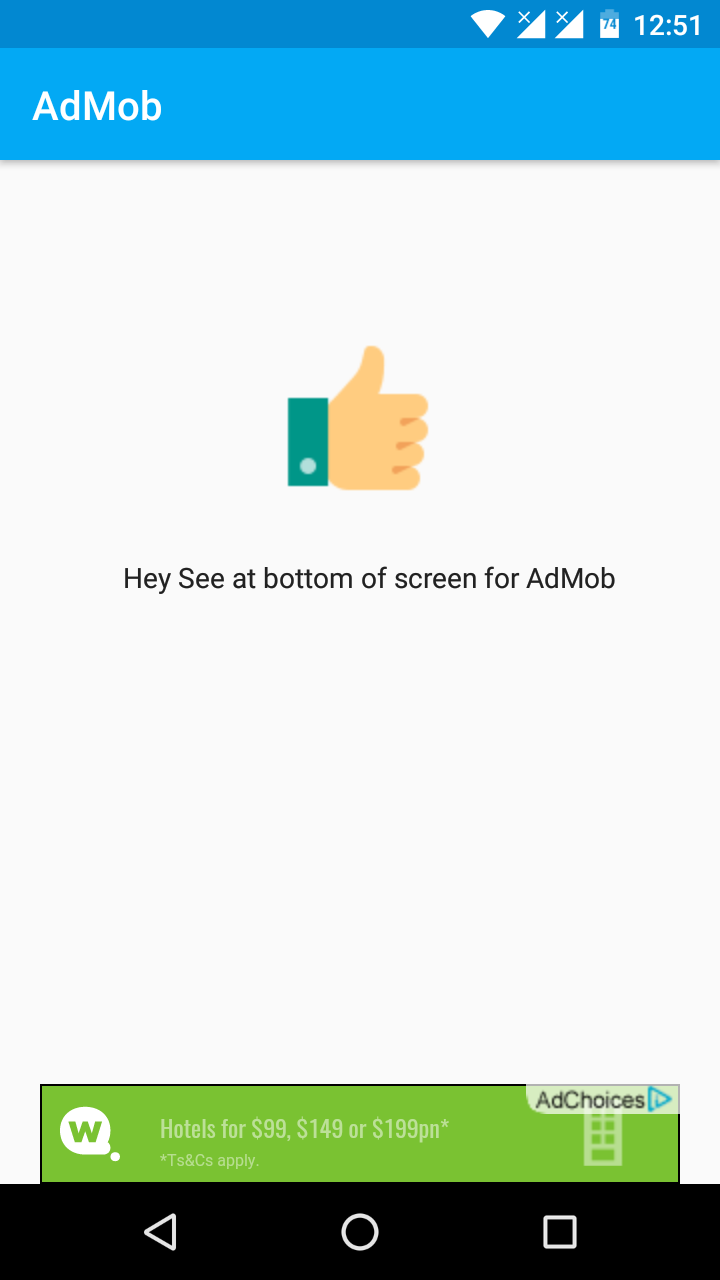
package com.android.admob;import android.os.Bundle;import android.support.v7.app.AppCompatActivity;import com.google.android.gms.ads.AdRequest;import com.google.android.gms.ads.AdView;public class MainActivity extends AppCompatActivity { private AdView adView; @Override protected void onCreate(Bundle savedInstanceState) { super.onCreate(savedInstanceState); setContentView(R.layout.activity_main); adView = (AdView) findViewById(R.id.adView); AdRequest adRequest = new AdRequest.Builder() .build(); adView.loadAd(adRequest); } @Override public void onPause() { if (adView != null) { adView.pause(); } super.onPause(); } @Override public void onResume() { super.onResume(); if (adView != null) { adView.resume(); } } @Override public void onDestroy() { if (adView != null) { adView.destroy(); } super.onDestroy(); }}5) Almost Done! Now run the app and you see a banner ad at bottom of screen
Happy Coding 🙂
Download the Demo Example → Download Demo