Flask – Zero to Hero in 15 Minutes
Hey guys !! Today we’re going to learn about one popular Python framework called flask. So before we get started, let’s learn about what is flask? and when we should use it?
Introduction – A Flasky world
So as I told you before, flask is a Python framework used for creating web applications. Let’s throw some light on why flask is one of the most important frameworks.
-
Lightweight – Flask uses the middleware approach. It means you can install new extensions and functionality only when you need it. So it makes the overall size smaller, resulting in a superb performance.
-
Flexibility – Flask is very flexible by nature. It doesn’t force you to do anything in some specific way. For example, it comes with the Jinja 2 template support, but you can decide if you want to use it or not.
-
Easy to learn – Flask does not have a lot of pre-defined rules like Django, it is very easy to get started and start building websites.
All this feature makes Flask a very good choice for deploying machine learning models because we need flexibility to make our model work as we want. Its simple nature also helps us to be focused more on machine learning related stuff and not get lost in the framework.
Getting Started – Installation and First Program
I would recommend you install Flask with an anaconda or virtual env. So it will not conflict with your other python related work (like ML). You can find the complete code written in this blog on this github repository.
After creating a new virtual environment, install Flask by following the command.
pip install Flaskorconda install flaskNow in your preferred directory create a file called app.py and add the following code to it.
from flask import Flaskapp = Flask(__name__)@app.route('/')def hello_world(): return 'hello world!!'if __name__ == "__main__": app.run(debug=True)Let’s understand what our code is doing.
In the first line we are importing our flask package, then in the second line, we are initializing our app. After that, we are using the @app.route() function. When we run our app and go to the index route ( ‘/’) this will automatically trigger the function hello_world(). In the end, we set debug to true so we can debug our code easily and see all the errors.
In this function, we can write any kind of logic, but here we simply return a string “hello world!!”. So now to run the app execute the following command.
$ python app.pyYou will see something like this in the command prompt
* Running on http://127.0.0.1:5000/
Now simply go to your web browser and in the address bar type the following.
http://localhost:5000/or http://127.0.0.1:5000/Your web application will open and it will show this simple message “Hello world!!”.
Routes and Passing HTML Pages
Now we will learn how we can pass different HTML pages for different routes. First of all, create a templates folder in your working directory and add home.html in that folder.
Your folder structure will look something like this.
-[templates] -home.html-app.pyNow we will add some simple formatted messages to our HTML page.
<!DOCTYPE html><html> <head> <title>Home</title> </head> <body> <h1>Hello World !!</h1> </body></html>Now save everything open the app.py file and add the following new method for the home route.
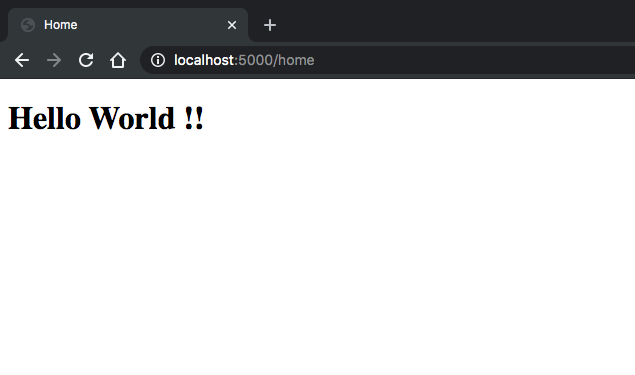
from flask import Flask,render_templateapp = Flask(__name__)@app.route('/')def hello_world(): return 'hello world!!'@app.route('/home')def greetUser(): return render_template('home.html')run the app with the python app.py command and open your browser, you will see an output similar to this.

Here, as you can see, we have used the render_template() module for rendering out an HTML page. After importing it we have passed the name of the Html page in the double quote. We don’t have to include “templates/ ” before the name because Flask handles it.
We can also pass JSON objects in the render_template() method as a second parameter after the name.
Passing Data through Post Request
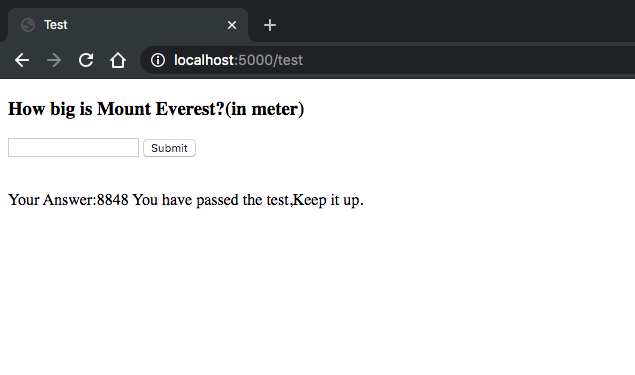
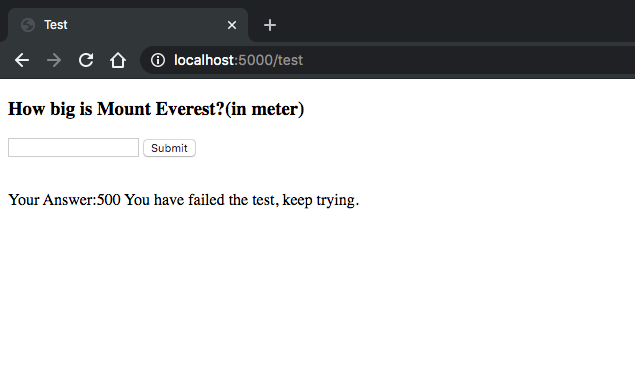
Now let’s learn how we can make a post request and pass the data to our flask application. For this purpose, I am creating a simple form with one text field. It will ask for Mount Everest height and if the correct answer is given, It will show the success message otherwise failure.
Firstly create our test.html page.
<!DOCTYPE html><html><head> <title>Test</title></head><body> <h3> How big is Mount Everest?(in meter) </h3> <form method="POST" action="/test"> <input type="text" name="height" value=""> <button type="submit" value="submit"> Submit</button> </form> <br/> <p>{{message}}</p></body></html>Here we have created one text field with a submit button. Look at the below line.
<p>{{message}}</p>It is a Jinja 2 syntax. It comes pre-built with the flask. ” {{ }} ” in this block, we can write any code. We will pass this message variable from the server and it will be shown in the paragraph tag.
We will set up our route. So open your app.py file and add the following.
from flask import Flask,render_template,request@app.route('/test',methods=['GET', 'POST'])def calculateResult(): if request.method == 'POST': height=request.form['height'] message='' if height == '8848': #8848 is actual height of mount everest message="Your Answer:"+height+" You have passed the test,Keep it up." else: message="Your Answer:"+height+" You have failed the test, keep trying." return render_template('test.html', message=message) else: return render_template('test.html', message='')Here we are doing several things. Let’s look at it one by one.
@app.route('/test',methods=['GET', &

#39;POST'])
We have passed the second parameter in the route which defines the method supported by the route. Here we are using both GET and POST.
After that, we are checking if our request is GET or POST. If it’s GET means our page is opened for the first time so we will simply return our html page with an empty message.
height=request.form['height']In this line of code, we are using request.form[param_name] method to get the value of the height text field.
After that, we simply check the value of height and if it is 8848 then we will return the success message otherwise failure message.


Conclusion
In this article, we have learned about flasks. We have learned how to install flask, routes, and make GET or POST requests. I hope you have found this article useful. If you have any suggestions or queries, please mention them in the comment section below or contact me at yash@gkmit.co
Thanks!!
Related Blogs:
Svelte A Guide To The Framework With No Framework
Mean Vs Mern Stack Who Will Win The War In 2025