Adding Custom Fonts in React Native
Adding custom fonts in react native applications is quite a common requirement. In this blog, let’s learn a step-by-step process to add custom fonts in react native applications.
Steps of adding custom fonts in react native
1. Download required font files (.ttf)
e.g. SourceSansPro-Italic.ttf
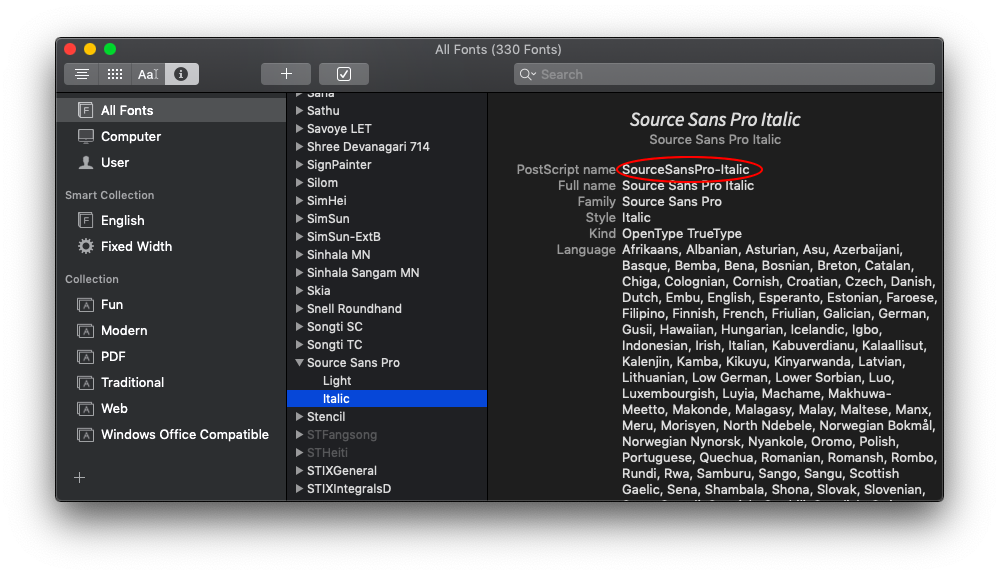
2. Point to remember, iOS requires font’s name whereas android required font file name when setting custom fonts in react native. We can see the font’s name in the Font Book app. Open font in Font Book app and click on Show Font Info option in the View menu.

“To avoid conditions on fontFamily name for android and iOS, we can rename font file name as the font name.”
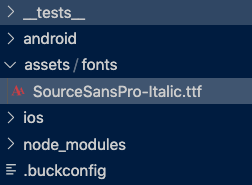
3. Add font files to assets/fonts folder in the project’s root directory

4. Next, we need to tell React Native where our custom font are located. To do this, add below code snippet to react-native.config.js file in Project root folder.
module.exports = { project: { ios: {}, android: {}, }, assets: ['./assets/fonts'],};
“ If the file does not exist in your project root folder, create it with the same name, and add the code snippet.”
5. Next we need to link those font files.
Run below command on a terminal in the project directory
react-native link
on successful linking, we can see a message on the terminal like this –

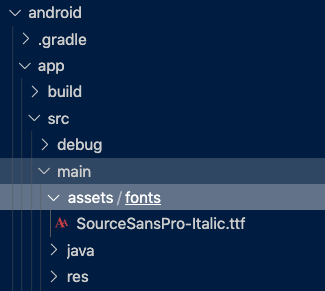
This should add the font references in your Info.plist file for iOS and in android/app/src/main/assets/fonts on Android.
Info.plist

for android –

6. To set the custom font in our styles we can use it like –
labelStyle: { margin: 20, alignSelf: 'center', fontSize: 22, fontFamily: 'SourceSansPro-Italic', }
Conclusion-
Tadaa!! font implementation steps are over and see how easy it is. In case if you have any queries regarding any step then feel free to connect. You can drop your queries and feedback in the comment section below. I’ll be glad to assist you.